Saturday, 19 October 2024

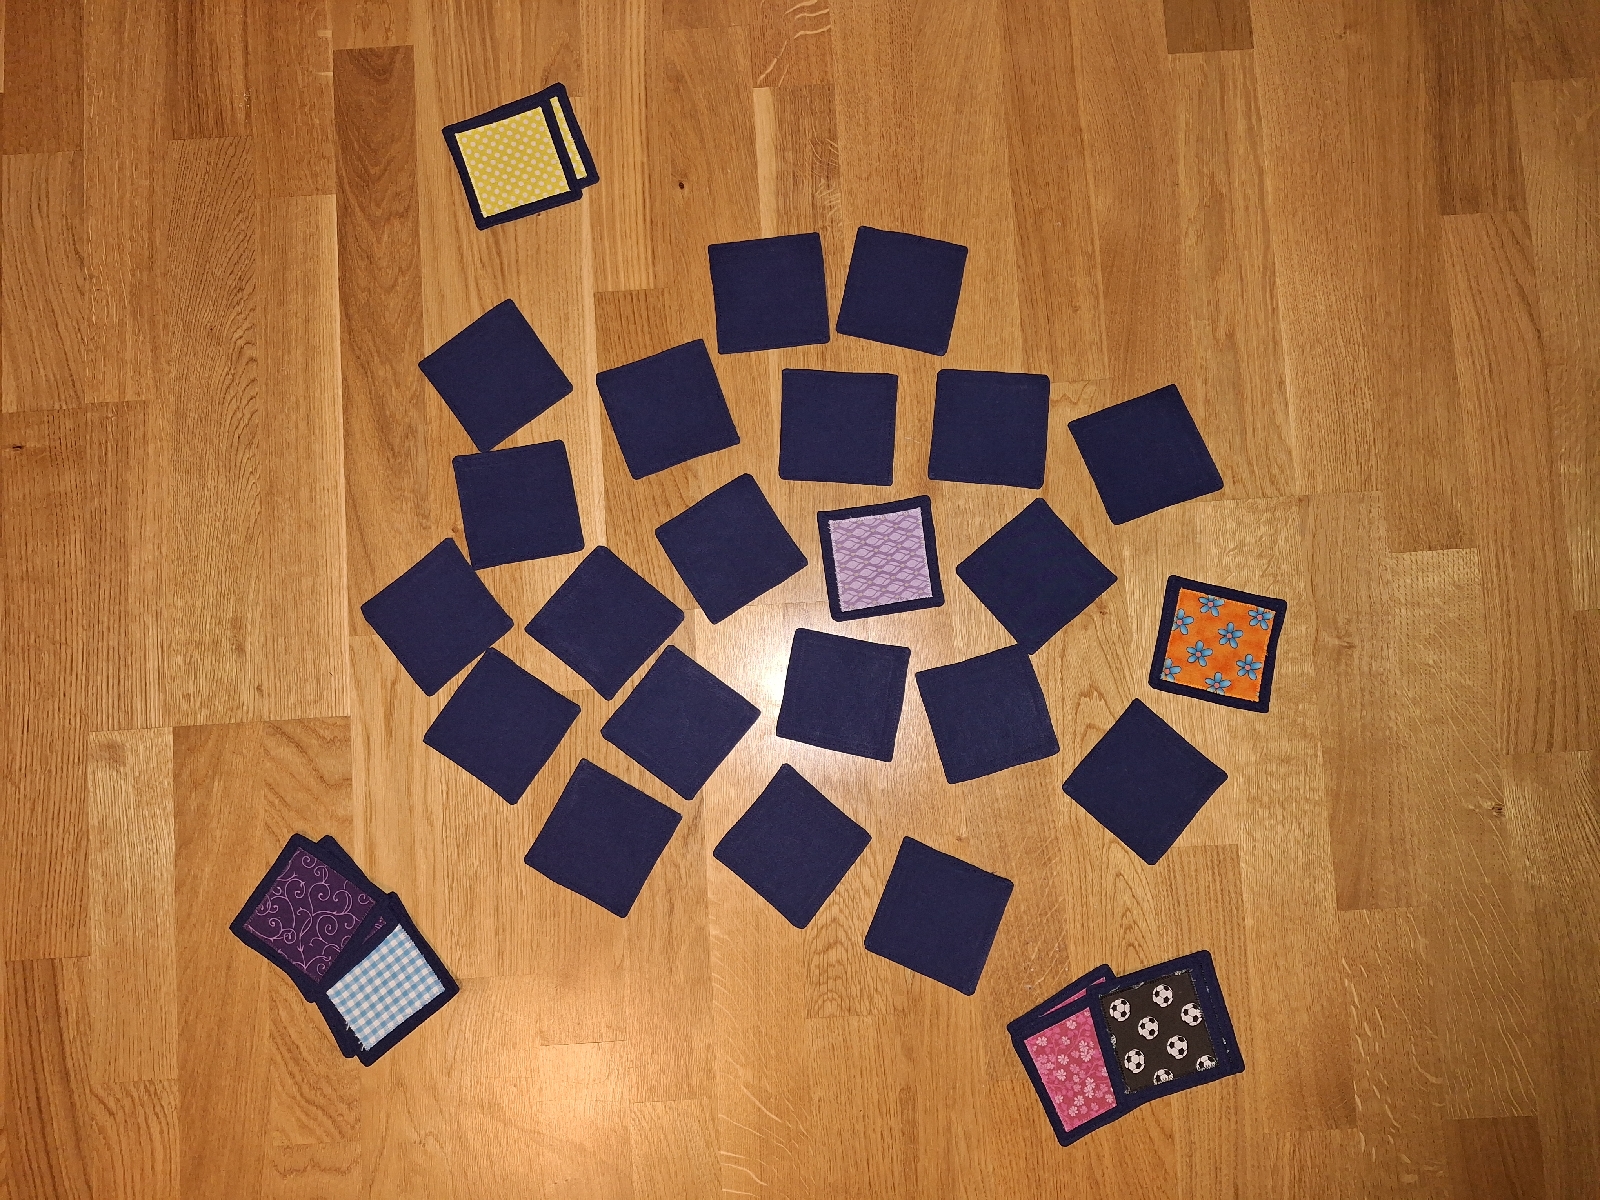
sewing memory and lottery game for toddlers

As I work in preschool in Sweden I've found out that the pieces in games have a high wear an tear due to the fact that they bend and put them in the mouth. By making the game in fabric I hope that the game will last longer and make it possible to play even with the younger children. In this game children can learn not only colours but patterns and nuances. 

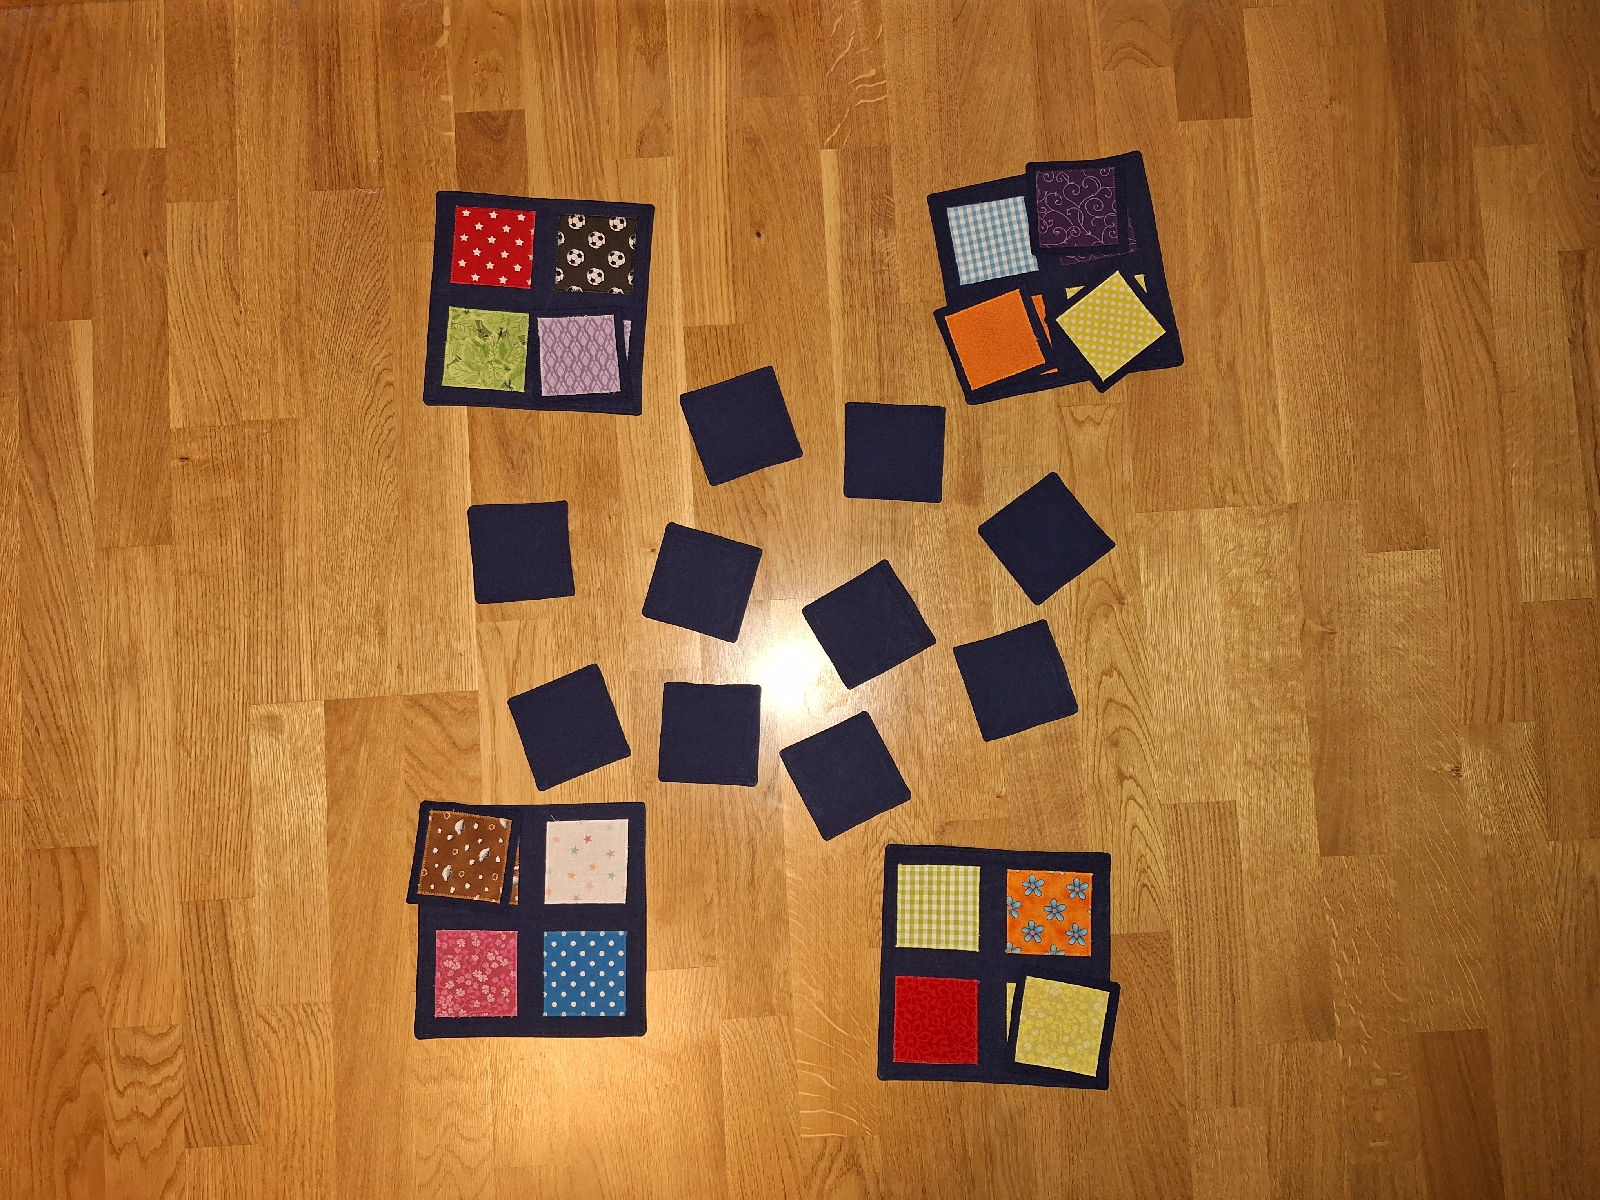
This pattern is for two games in one, both a lottery game (the gamebords is needed and only one of each patterned fabric) and the memory game (both the patterned fabrics is needed but not the gameboards). 

In my experience children have easier to start learning lottery than memory. In the lottery they are introduced to taking turns and start to match the same pattern with each other. One can play so that the taken piece is given to the one that have it on its gamebord or that it i put back where you took it if it´s not yours. In the later one it has similaritys with the memory game where you need to memorise where the different patterns lie. I find it easier to introduce memory if the children first learned to play lottery with the memorising ruls. 


First of all I cut out eight 21x21 cm squares in the background fabric, I've chosen dark blue. These pieces will become the four game boards in the lottery game. 


Then cut out four 20,5×20,5 cm pieces stabilising fabric (vliseline) which have a iron on, on one side. 


Iron them onto four of the eight big squares.


Now cut out four 20×20 cm of vilesofix. The vilesofix can be ironed on on both sides due to the fact that it have paper on one side. 


Iron it onto the other four 21×21 big squares. Then you can remove the paper and you can se that the "glued" side is now stuck on the fabric.


Move on to cut out 3 pieces by 7×7cm of each fabric with patterns and colours, you need 16 different fabrics. 

For each piece of patterned fabric cut out 6×6 cm vilesofix and iron them onto the backsides. Remove the paper when they have cooled.


Now sort out one of each patterned fabric and put four on each gameboard. Then iron them onto the gameboards. 


Cut out 64 10×10 pieces of background fabric. 


Then iron on the patterned fabrics onto 32 of the background fabrics. 


Cut out 9×9cm vilesofix and iron them onto the other 32 of the background fabrics. 


At long last all preparations are done and you can bring out the sewing machine.
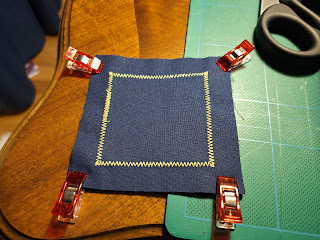
For each patterned fabric I've used a matching thread when I sick sacked them onto the background fabric and onto the game board. The stitches is quite close together, on my machine it says 2.0 and the normal is 4.0.

When all patterned fabrics are stitched on I assemble the gaming boards.

Towardes the table I put the side with the iron on. 

On top of that fabric I put the side with the patterned fabrics towards the table. Thus backside and front is facing inwards and the stabilising fabric and iron on is facing outwards. 

Pin them together.

When you are sewing them together don't forget to leave a opening so that you can turn the work right side out. Before you do that trim the corners.

To get the corners in the right position I use a knitting needle. In the opening turn the sides a bit inwards as if it also has been sewed. 

When you have made it look like it should look when finished, iron it together. This will make the iron on side stick together with the stabilising side.

To close the gap sew all around the gaming board and make a cross in the middle.

Asseble all the game pieces.

The game pieces are made similar to the game boards. 

Pull the work inside out so that the right side is facing outwards, turn the opening inwards so that it look as it to has been sewed together and iron it. By iron it it will stick the two sides together so that it will be flat. 

Sew all around the piece.
Monday, 13 February 2023

Hexagon necklace with tre blue triangles English and Swedish

This pattern is in both english and swedish.
Detta mönster är både på svenska och engelska. Det svenska mönstret ligger under det engelska

You will need:
A: White #41 TOHO Treasure, 152 beads
B: Gold #PF557 TOHO Treasure, 99 beads
C: Dark blue #48 TOHO Treasure, 72 beads
D: Blue #43D TOHO Treasure, 48 beads
E: Light blue #43 TOHO Treasure, 24 beads

Du behöver:
A: Vit #41 TOHO Treasure, 152 pärlor
B: Guld #PF557 TOHO Treasure, 99 pärlor
C: Mörk blå #48 TOHO Treasure, 72 pärlor
D: Blå #43D TOHO Treasur, 48 pärlor
E: Ljus blå #43 TOHO Treasure, 24 pärlor

The first part is to make a triangle. The underlined beads is corner beads and the pattern is the same on all three sides, therefore repeat the pattern three times. If it's only 1B I will write B. 

1. 3A in a cirkle
2. (2A)×3
3. (2A B)×3
4. (2A 2B)×3
5. (2A B C B)×3
6. (2A B 2C B)×3
7. (2A B C D C B)×3
8. (2A B C 2D C B)×3
9. (2A B C D E D C B)×3
10. (2A B C D 2E D C B)×3
11. (2A B C D E B E D C B)×3

Now the triangle base is made and it will look like this.
Now we will finish each blue triangle by itself, therefore we will start working the tread back and forth instead of in the round. I will mark the bead you shall enter out of in bold

12. A A B C D 2E D C A A Turn so that you start through A.
13. A B C D E D C B A turn
14. A B C 2D C B A turn
15. A B C D C B A turn
16. A B 2C B A turn
17. A B C B A turn
18. A 2B A turn
19. A B A turn
20. A A turn
21. A
Now move the thread to the single A corner bead plus one more A bead. In row 12 you skip adding one corner A bead in the beginning since it is already in place. The row 12 thereby reads A B C D 2E D C B A A. Now repeat row 13-21.
Now the last side, since all single corner beads is added by now you skip adding a corner bead in row 12. Row 12 therefore reads A B C D 2E D C B A. Continue with row 13-21.
Move the thread to the next corner. We will now make the neclase loop in brick stich.
Add 9 A beads in a row. 
Then add 10 A beads in the second row.
Move the thread to the other side and add 10 more A beads.
Now bend it backwards and fasten it several times.
Congratulations it is finished.

SVENSKA

Du behöver:
A: Vit #41 TOHO Treasure, 152 pärlor
B: Guld #PF557 TOHO Treasure, 99 pärlor
C: Mörk blå #48 TOHO Treasure, 72 pärlor
D: Blå #43D TOHO Treasur, 48 pärlor
E: Ljus blå #43 TOHO Treasure, 24 pärlor

I den första delen skapar du en triangel. De understrykta pärlorna är hörnpärlor. Mönstret är likadant på alla tre sidorna därför är mönstret inom parantes och ska upprepas tre gånger. När det bara är en pärla av en färg skriver jag A istället för 1A med undantag för hörnpärlor.

1. 3A i en cirkel
2. (2A)×3
3. (2A B)×3
4. (2A 2B)×3
5. (2A B C B)×3
6. (2A B 2C B)×3
7. (2A B C D C B)×3
8. (2A B C 2D C B)×3
9. (2A B C D E D C B)×3
10. (2A B C D 2E D C B)×3
11. (2A B C D E B E D C B)×3

Nu är triangeln gjord och då ser den ut såhär.
För att få till formen av en hexagon behöver vi göra klart varje sida för sig. Därför arbetar du nu fram och tillbaka istället för runt runt. Den pärlan du ska starta ut ur är markerad i fetstil.

12. A A B C D 2E D C A A vänd så att du startar ut ur A pärlan.
13. A B C D E D C B vänd
14. A B C 2D C B A vänd
15. A B C D C B vänd
16. A B 2C B vänd
17. A B C B A vänd
18. A 2B A vänd
19. A B A vänd
20. A vänd
21. A
Förflytta tråden till hörnet med en A pärla plus en till A pärla. Denna gång i rad 12 hoppar du över att placera en hörnpärla eftersom den redan är på plats. 
Rad 12 blir därför:
12. A B C D 2E D C B A A
Upprepa nu 13-21.
Nu ska vi göra den sista sidan, och eftersom alla hörnpärlor är placerade ser rad 12 ut såhär:
12. A B C D 2E D C B A
Fortsätt med rad 13-21.
Förflytta tråden till nästa hörn. Nu ska vi göra öglan till halsbandsremen och den kommer att göras i brick stitch. 
Lägg till 9 A pärlor i en rad efter varandra.
I nästa rad ovanpå den förra lägger du till 10 A pärlor. 
Förflytta tråden till andra sidan och lägg till 10 A pärlor igen.
Böj fliken bakåt och fäst tråden flera gånger. 
Grattis nu är den klar!