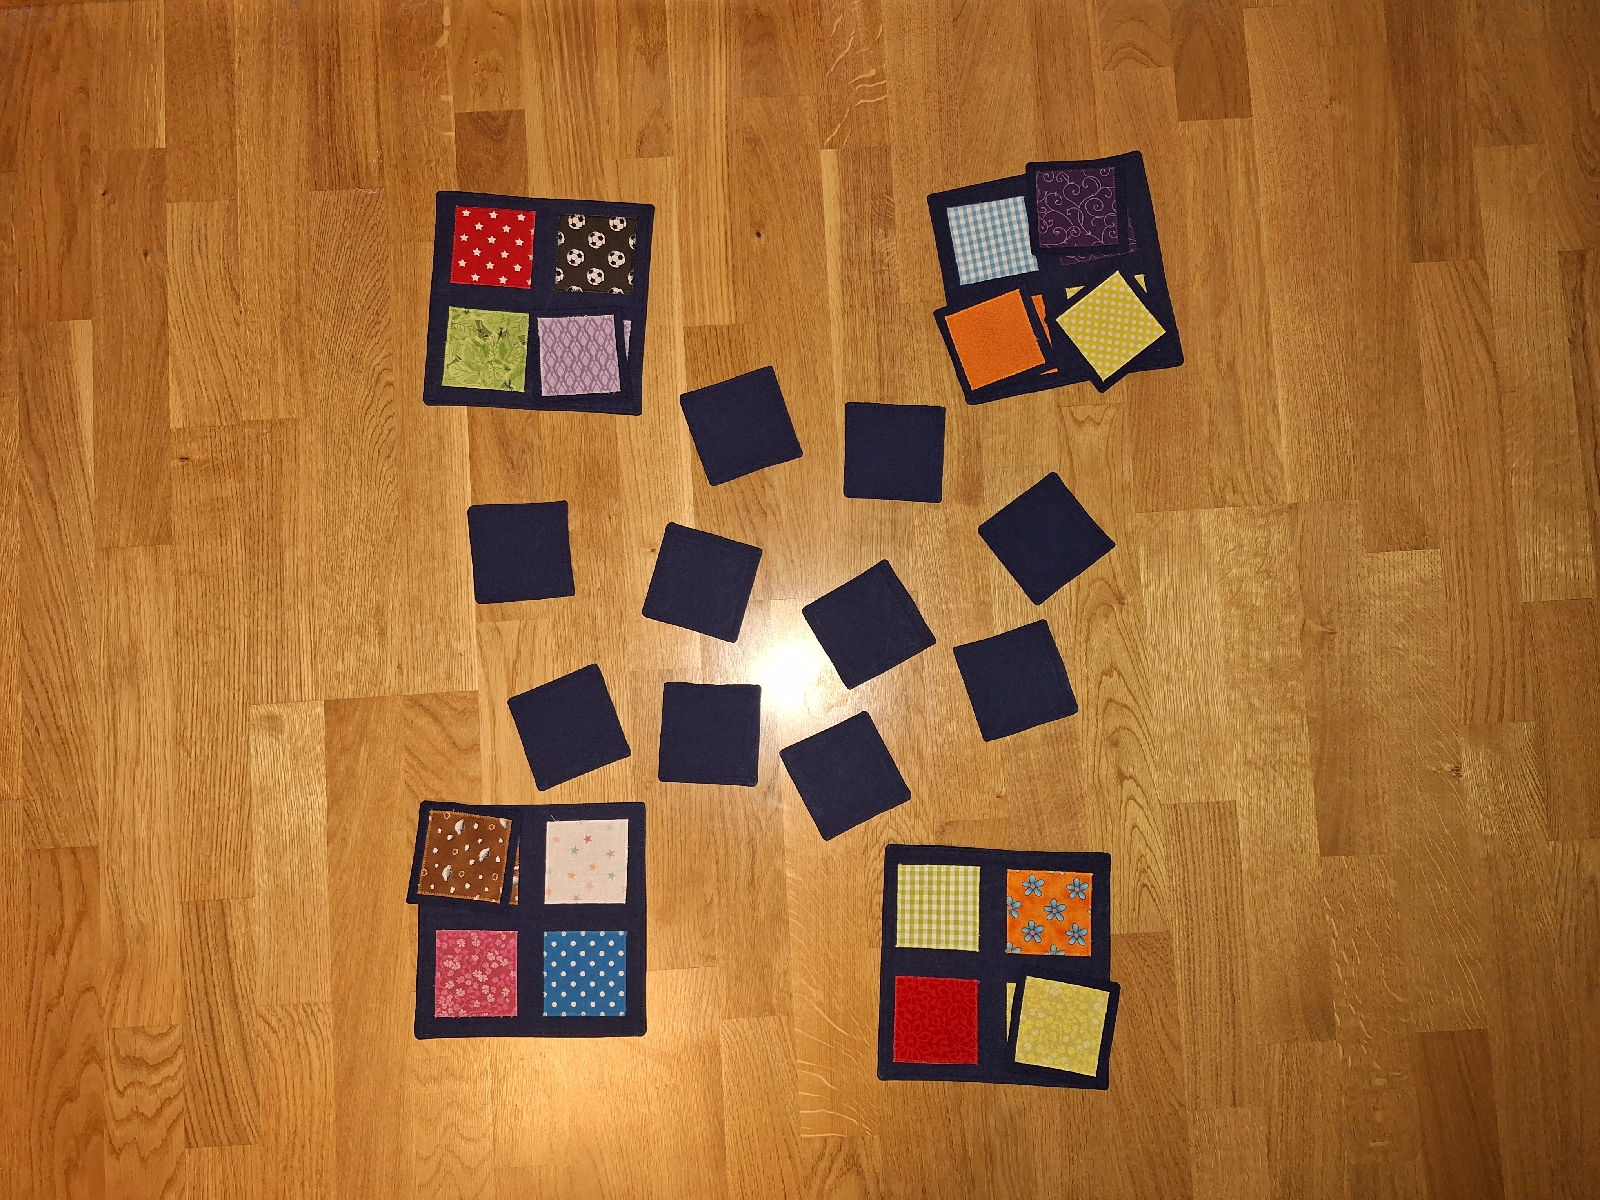
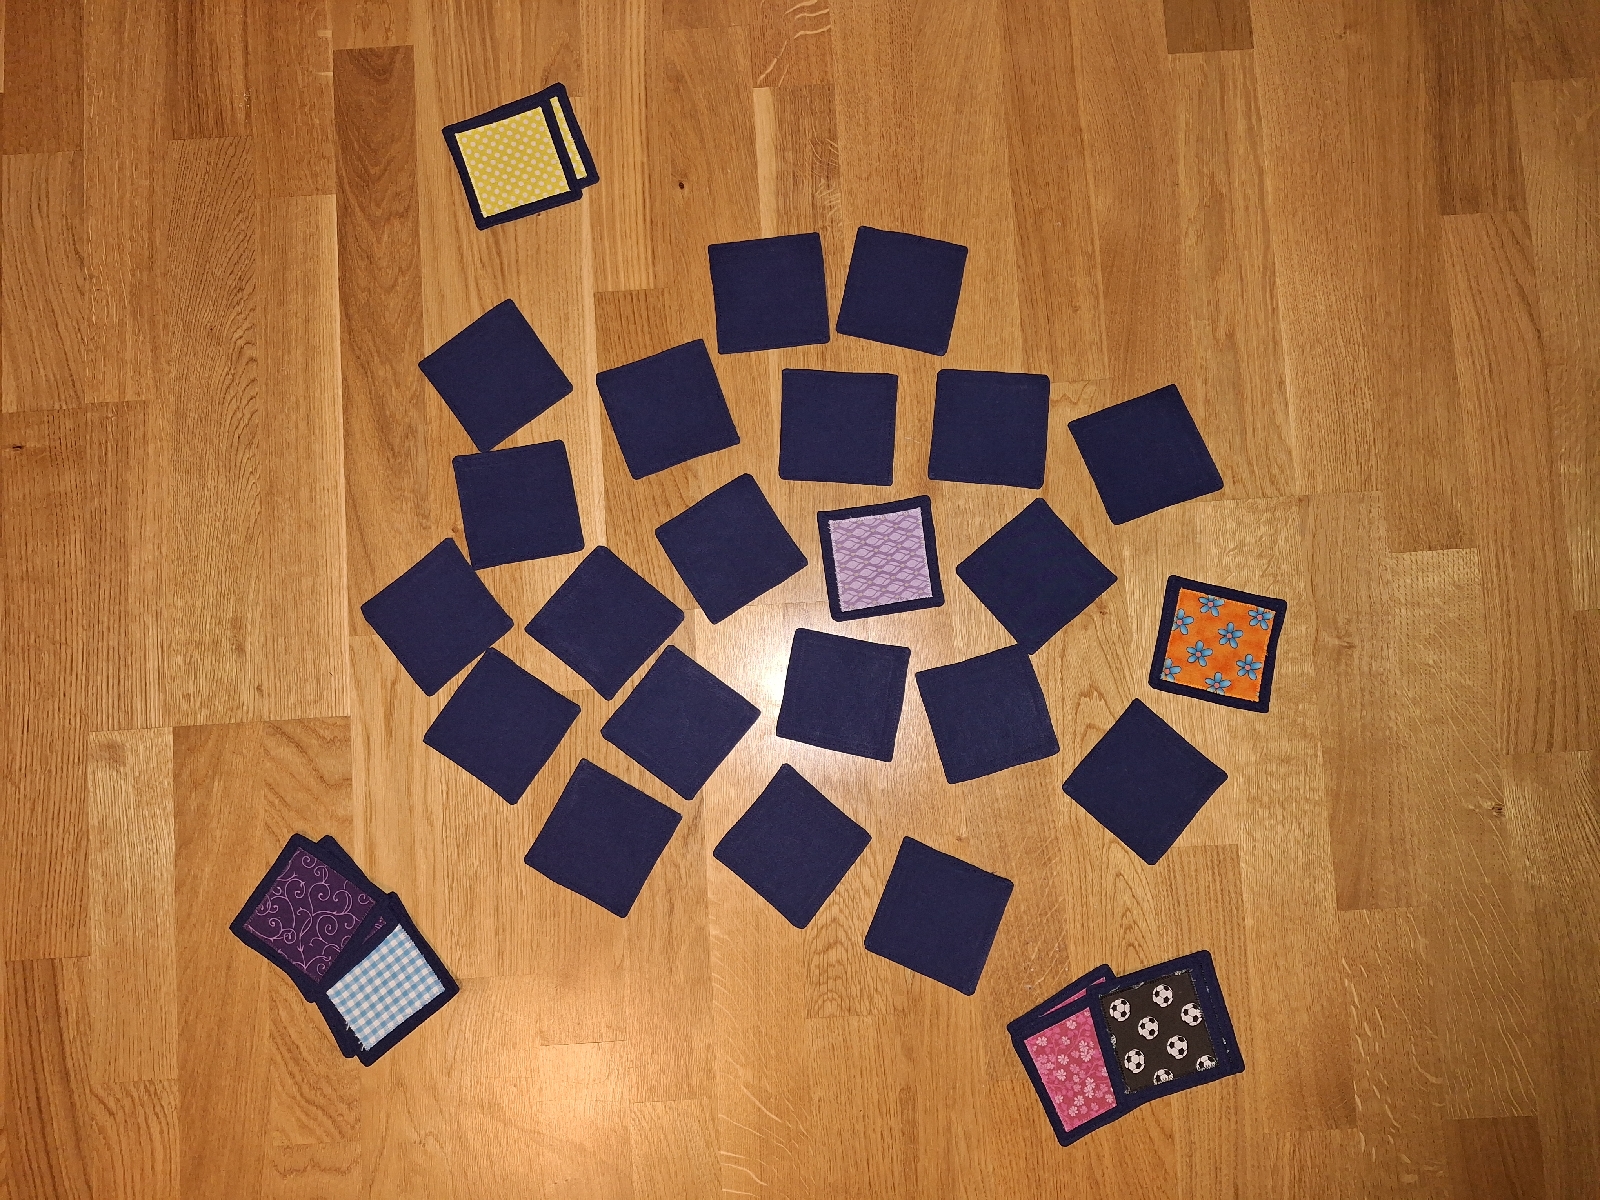
This pattern is for two games in one, both a lottery game (the gamebords is needed and only one of each patterned fabric) and the memory game (both the patterned fabrics is needed but not the gameboards).
In my experience children have easier to start learning lottery than memory. In the lottery they are introduced to taking turns and start to match the same pattern with each other. One can play so that the taken piece is given to the one that have it on its gamebord or that it i put back where you took it if it´s not yours. In the later one it has similaritys with the memory game where you need to memorise where the different patterns lie. I find it easier to introduce memory if the children first learned to play lottery with the memorising ruls.
First of all I cut out eight 21x21 cm squares in the background fabric, I've chosen dark blue. These pieces will become the four game boards in the lottery game.
Then cut out four 20,5×20,5 cm pieces stabilising fabric (vliseline) which have a iron on, on one side.
Iron them onto four of the eight big squares.
Now cut out four 20×20 cm of vilesofix. The vilesofix can be ironed on on both sides due to the fact that it have paper on one side.
Iron it onto the other four 21×21 big squares. Then you can remove the paper and you can se that the "glued" side is now stuck on the fabric.
Move on to cut out 3 pieces by 7×7cm of each fabric with patterns and colours, you need 16 different fabrics.
For each piece of patterned fabric cut out 6×6 cm vilesofix and iron them onto the backsides. Remove the paper when they have cooled.
Now sort out one of each patterned fabric and put four on each gameboard. Then iron them onto the gameboards.
Cut out 64 10×10 pieces of background fabric.
Then iron on the patterned fabrics onto 32 of the background fabrics.
Cut out 9×9cm vilesofix and iron them onto the other 32 of the background fabrics.
At long last all preparations are done and you can bring out the sewing machine.
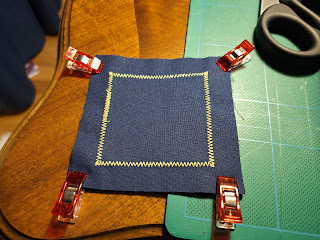
For each patterned fabric I've used a matching thread when I sick sacked them onto the background fabric and onto the game board. The stitches is quite close together, on my machine it says 2.0 and the normal is 4.0.
When all patterned fabrics are stitched on I assemble the gaming boards.
Towardes the table I put the side with the iron on.
On top of that fabric I put the side with the patterned fabrics towards the table. Thus backside and front is facing inwards and the stabilising fabric and iron on is facing outwards.
Pin them together.
When you are sewing them together don't forget to leave a opening so that you can turn the work right side out. Before you do that trim the corners.
To get the corners in the right position I use a knitting needle. In the opening turn the sides a bit inwards as if it also has been sewed.
When you have made it look like it should look when finished, iron it together. This will make the iron on side stick together with the stabilising side.
To close the gap sew all around the gaming board and make a cross in the middle.
Asseble all the game pieces.
The game pieces are made similar to the game boards.
Pull the work inside out so that the right side is facing outwards, turn the opening inwards so that it look as it to has been sewed together and iron it. By iron it it will stick the two sides together so that it will be flat.
Sew all around the piece.


No comments:
Post a Comment